
Creating sketches and storyboarding is highly relevant when planning and visualizing desired outcomes of what you would like to capture in a photo. Creating a sketch or storyboard in your animation software, helps you to pre-visualize the composition, lighting, and overall concept of your photographs. As a result, it allows you to better understand how to achieve your desired outcome and communicate your ideas effectively.
How can you make a storyboard sketch
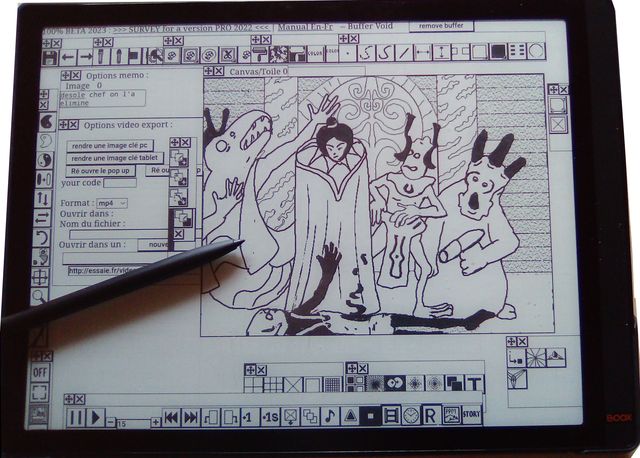
Creating a storyboard sketch involves visually planning and organizing event sequences in a story or a film. Storyboard sketches help in visualizing the flow of scenes, camera angles, compositions, and other important elements. If you need to make a storyboard sketch, you could follow the following step-by-step guide on making a storyboard sketch:
Familiarize and understand the story:
First, begin by familiarizing yourself with the story or concept you want to visualize. Read your script or outline and have a clear understanding of the key scenes, actions, and dialogue.
Divide the story into panels and sketch rough triangles:
Break down your story into individual panels in a manner that each panel represents a specific scene in the story. Determine how many panels you will need based on your story length and complexity.
Afterwards, draw a series of rectangles on a piece of paper or use a storyboard template. These rectangles represent the panels of your storyboard. Be sure to leave enough space to add your sketches and notes within each rectangle.
Add basic elements and sequence the panels:
Within each rectangle, start sketching the basic elements of each scene. Focus on the key characters, objects, and important details that convey your story effectively. Keep the drawings simple and quick, since your purpose is to capture the essence of each scene rather than create detailed illustrations.
Arrange the panels in the order they will appear in the story ensuring a logical progression between scenes, and maintaining a smooth flow of events. Numbering each panel can help maintain a proper sequence.
Add arrows and notes:
Adding arrows and notes helps to indicate the direction of movement or camera angles within and between panels. This helps visualize the camera shots, character movements, and transitions. Also, include brief notes or descriptions alongside the panels to provide additional context or instructions.
Refine the sketches:
Once you have a rough sketch of your storyboard, review each panel and make any necessary adjustments or improvements to give it a perfect finish. Refine the drawings to better convey your intended actions, emotions, or compositions based on your storyline or script. You could as well experiment with different camera angles or compositions at this stage.
Your primary goal in a storyboard sketch is to communicate the story visually, therefore, focus on clarity and conveying key elements and actions of each scene.
Some common mistakes you need to avoid when creating a sketch or storyboard
Creating a storyboard sketch, has never been a walk in the park. If you are not careful, you could easily make unnecessary mistakes while developing sketches or storyboarding. Therefore, it is important to be aware of common mistakes to ensure the clarity and effectiveness of your visual storytelling. Some common mistakes to avoid include but are not limited to:
- Overcomplicating the drawings
- Lack of continuity between panels
- Neglecting composition and camera angles
- Skipping important actions or moments
- Ignoring shot transitions
While sketches and storyboards are not mandatory for every photo session, they provide a structured approach and help you refine your ideas, improve composition, and effectively communicate your vision. Most importantly, you need to be mindful of common mistakes, in order to create a more effective and visually engaging storyboard that effectively communicates your story or concept.